SMILE Q&A
1. What is the Association Method?
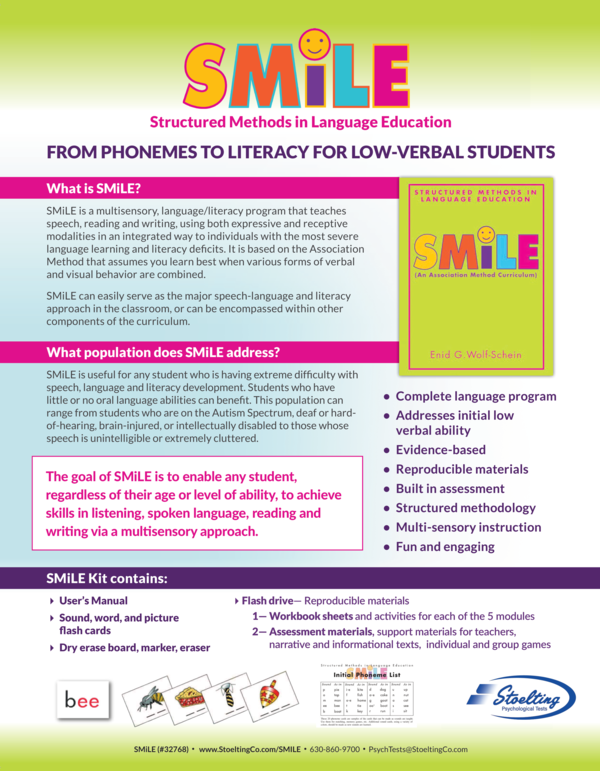
The SMILE program is based on the Association Method originated by Mildred McGinnis at the Central Institute for the Deaf in St. Louis, Missouri, a school that focused on oral deaf education. Ms. McGinnis designed her program specifically for those deaf children who were having extreme difficulty achieving language and literacy; methods involving a natural language or whole-word approach had not resulted in linguistic success. The Association Method is a multisensory, phonetically based, systematic, incremental instructional program for teaching oral and written language. Most recently it has also been applied to children with severe language-learning disorders associated with autism, central auditory-processing disorders, traumatic brain disorder, and intellectual disabilities as well as hearing and vision problems. Why the term “Association Method” ? “…because it develops and associates systematically each of the several specific skills that must be coordinated for the development of ability to understand and use oral communication.” Quoted from Mildred McGinnis McGinnis advocated a multisensory approach relying on the principle that children with hearing and other disabilities related to difficulty in learning language learn best when they are taught using a combination of visual, auditory, tactile, and kinesthetic associations. This approach improves sensory organization skills which are critical to language and literacy acquisition. Also involved in the philosophy of McGinnis are: • The concept of first gaining attention and imitation skills. • Emphasizing the ability to discriminate, speak, read and write individual phonemes before combining them into nouns, and associating them with meaning. • Accompanying all oral work with reading and writing. • As soon as the sound system and a number of words have been learned, teaching syntax through sentence patterns.
2. How does SMILE differ from the original McGinnis approach?
Originally the Association Method was designed to be a total commitment for a student, with the entire school day devoted to some aspect of language learning. When this occurs, progress is much faster, and can be documented better. However, there needs to be a way to implement the program on a wider scale for students who do not have the opportunity to attend such an intensive placement. This would involve a paradigm for in-service training within a School District and procedures to document progress in a way that is not burdensome for the teachers to justify such training and use of resources. In order to do this several changes had to be made, including the development of a manual that was specific to the approach. While the basic program and philosophy are the same, some of the difference in details arose from a need for practical implementation: Use of manuscript instead of cursive writing. The original and many subsequent Association Method programs were and are in full time settings where all aspects of the teaching can be modified to suit the original concept of McGinnis of using cursive writing. However in the majority of programs located in regular schools the teaching of writing begins with manuscript. It would be difficult for the students who already have severe problems with writing and literacy to be learning a different way to write, see writing a different way around the school, and also translate cursive to what they see in books. Teaching is divided into 5 Language Learning Modules. In the original program there were three levels and the order of teaching was not as specific as we are suggesting. Or,as structured. For example, how many copies of a sound or drop drill on a page, or that they each be a different color, etc. We feel that the more structure and consistency the better. The division into five modules seems very logical. Naming of books. In the original teaching, the first book was called, “my baby book”, another book, “my cross drill book”. We are using the terms, “My Sound Book, My Words Book, My Sentence Book”, etc.
3. How do you do the tracing step in Module 1?
When you are having the student trace as part of the six steps, should you write, they trace, you write, they trace...or is it you write once, they trace, they trace, they trace with each of the five different colors? When you start teaching ---you may have to write, then have them trace, then write the sound again and repeat the process being sure to change color each time. Once students have the concept of tracing, they can either trace over the first letter sound with all five colors, or you can write the sound again in a different color and they trace in that color. After they have some practice it is best to write the letter once and they trace that one letter five times, each time with a different color – but saying the sound each time they write it. When students are able to work independently (with guidance and supervision) in their My Sounds Workbook, print out the sound sheets from the Teacher's Guide to Language Module 1, or write the letter, and then give them the five colors for tracing. If they have problems use hand-over-hand so they will learn to write well. Be sure, when the letter-sounds are outlines, that students do not color them in. They have to write the sound correctly each time.
4. Do attention-getting activities precede assessment?
Yes. The reason being you want to be sure students have the concept of responding and imitating that that they may not have to start. But, as soon as you feel comfortable that they can do the attention-getting exercises move right along. These non-vocal activities can be used as warm up, or for tension release later on. Some students may need extra time outside of the SMILE lessons to work on imitating drawing of lines and curves better in preparation for writing.
5. Why do you use only letter-sounds and not alphabetic names when teaching?
The goal in SMILE Language Modules 1 and 2 is to teach the student to say and read sounds and words. They also learn to write these same letter-sounds and words. In this process there is no reason to use the names of the letters because they do not always represent the way they will sound or be written in words. For example: The word “cat” uses the phonemes / k / / a / / t / Using letter names to spell the word you would say, “see” “ay” “tee”… The letter names have nothing to do with how the word is articulated or written. Since our students often start out being nonverbal or struggling with reading, the last thing we want to do is make the process even more confusing. Trying to teach the letter name along with the sound at this point is counterproductive and not necessary. In the SMILE program students do learn to spell correctly and later on in the program the correspondence between the letter-sounds and alphabetic names is taught in a special lesson. We often have to spend a great deal of time having the students unlearn the alphabet because they will say letter-names rather than letter-sounds when they read and have to learn the concept of phonemes. So for the first two modules, please concentrate on phonemes as said and written.
6. Why use a dash as a place holder in some vowels?
When we write the letter-sounds with a dash in the middle such as i-e o-e a-e it indicates that you need both letters in order to produce your target sound. (Students are often taught that the "final e" is silent.) It also means that another letter-sound can be inserted without changing that sound. So, the word pipe still has the i-e sound even though there is a p now in-between the two letters. When developing a word that has these sounds insert the consonant where the dash is and if the student gets confused put a little curved line from the first to second vowel to show that you say the sound altogether before you add the final sound. so you say “p i-e p” even though you spell it differently. Most words will have the consonant where the dash is. Of course there are exceptions such as pie, toe, tie where the two letters come together, but those are words with two sounds. Interesting enough when those combinations appear in three phoneme words like pike, pipe, tote, tone, time, etc. the consonant goes where the dash was.
7. What is the rationale for the choice of the first ten phonemes to be taught?
In examining SMILE's scope & sequence, what is the thinking behind using phonemes early in the Program that are considered more “advanced” developmentally by other programs' standards? For example “ee” is in common words that children see (eg. feet) but developmentally, that diphthong is often considered as more advanced? The sounds were selected for various criteria. Ease of production, readily imitated, commonality of use by young children, developmentally early, frequency of use in simple, familiar nouns after 10 phonemes were learned. Also, where primary spelling is usually consistent. That is, / b / p / m / generally have the same sound. Similiarly with the vowels. For example "ee" is usually pronounced as /ee/ as in the word "see." Whereas "oo" is pronounced differently in the words "book" and "boot" which means you need to differentiate using superscript . So we save those for later. There is also a mix of consonants and vowels. Specifically about the vowels. In Module One they are ones that are commonly used. The phonemes we spell "ee" and "o" are easy to form on the lips. The /i-e/ and /o-e/ are the two diphthongs. In the International Phonetic Alphabet the letter-sound we write as "ee", has the symbol / i / (as in the Spanish word for "yes", si) and is not considered a diphthong. The originator of the Association Method, Mildred McGinnis, also based the selection on her own experiences over many years first working with children that were deaf, and then children with severe language learning problems who she called "aphasic" —a term we would not use now. In the second list of sounds we go on to use some of the shorter vowels, so that soon the students have a greater variety. If someone has a unsurmountable problem with one of the first 10 sounds the teacher could substitute from the next 10 but that is very rare. Occasionally a student likes a particular sound, we had one boy who liked the /r/ sound so the teacher used that early although it is considered a later developing sound with more frequent articulation errors attached. Unfortunately frequency of occurrence of phonemes cannot be a sole criterion. In order of occurrence / n t r s d l th z / are more frequent than /m k p f b /. But you have to take into account why. Using "th" for example: the unvoiced and voiced are both common because of use in articles that children generally do not use as much. The /s/ and /z/ because of plurals, etc. Other languages are more phonetic. In the Spanish version of SMILE all we have to worry about are /a e i o u/. The Shona language of Zimbabwe is also really easy and phonetic. (I did the first published modern analysis of that language). But that does not help us. The other phonetic teaching programs have some overlap with our initial ten sounds, and certainly with the first twenty. But this grouping has definitely worked for SMILE although there might be some disagreement about a sound or two.
8. When do you introduce the second set of 10 phonemes?
If a student has been able to successfully learn the first ten sounds, and knowing after the first ten is learning words, what comes next? Continue adding new sounds, or remain practicing just those first ten? Next is to incorporate the first ten phonemes into nouns. Do not go beyond the first 10 sounds before you go into words because it makes for a lot of memorization without meaning hung onto it. Also see next answer.
9. What is suggested as an order for teaching nouns?
After the first 10 phonemes it is best to select starting nouns that only contain those 10 phonemes because students already know them and it is best to confine teaching to one new concept at a time. In addition, students will have the additional task of learning secondary spellings and it is a lot to teach secondary spellings and new sounds at the same time. For example: with the /o-e/ sound the secondary spelling /oa/ is best taught first in the word "boat" because the /b/ and the /t/ are primary spellings students already know. Then when you teach the word "coat" you only have one other secondary spelling the /c/ for the /k/. Then, when you do go into the new sounds you can teach the /g/ sound and they will easily learn the word “goat”. This is described in CD 1 in SMILE Plus under “Teaching Order”. There is a suggested word list in the SMILE Manual and also an order of teaching in the Teacher’s Manual for Language Module 2 that has the advantage of giving you worksheets and activities. Once students have a good grasp of how the cross drill works, and know not only the 10 sounds but variations in spelling, the teaching of next words can be as needed or following the suggestions in the Teaching Order section. Remember, if you have not yet taught every sound that will be in the word to go back to the Six-Step method for teaching phonemes before incorporating those sounds into cross drills, and then words.
10. Can you explain cross drills?
Go to page 51 in the SMILE Manual where a discussion of Language Module 2 begins. An overview of Cross Drills starts on page 55 Start with a three line cross drill leading to the word /bee/. I suggest that because it is described on page 57 and also is the first word in the Teacher's Guide to Language Module 2. (choice of colors is up to teacher or student) First you write and say /b/ in blue. Then write and say /o/ in red. Do it three times exactly as if it were a drop drill only write it across as shown on page 57. bo bo bo. Do two more lines the same way using the same consonant /b/ but different vowels, such as bee bee bee. If this student has done all of his/her drop drills leading to a word there will be no problem with this. They should be able to easily read this, trace and copy and say from memory even if they need help. Only when students can do all of that do you then take the drill, put a circle around the word bee and then write it below the drill all in one color bee and show them that this word and picture are connected. In the book on page 58 “bow” is circled which can be a second word. Make sure the secondary spelling is never in the first column - only the primary spelling they learned initially is in that column.
11. If students have been in a program where they have learned sight words and know quite a few, where do you begin with SMILE?
Always start with Module 1 and the first 10 phonemes so as the student progresses through SMILE they will know the way this particular program approaches the saying, reading and writing of those phonemes. Often the letters in the words they have learned have nothing to do with the actual code-breaking system we are using – the word is memorized - so you will have a student saying, “F as in fish”, instead of /f/. If the student is quick they will go quickly through Module 1 and often Module 2 and end up further ahead than when they were just learning sight words one-by-one. If a student has been learning sight words, but very slowly, SMILE will probably catch up and go beyond so keep that in mind.
12. What is the rationale for Step 4 (Oral recall) in teaching noun words?
Students should be able to look at a picture and be able to orally produce its name – to look at a boat for example and say "boat". When you prepare for this lesson you should have several pictures of boats - different kinds; students need to generalize. If you have a toy boat that would be great. Real objects should also be used if they are available. Pictures take comprehension to the next level of abstraction. Students do not see the word at this point —this is strictly naming the picture or object.
13. Regarding word and picture charts. Do we make one chart with both the word and the picture, or are they two separate charts? When do you add pictures/words to the charts?
There are two different charts. One has the words in a list down the left side of the page. One has picture scattered with lines underneath to represent the number of sounds. For example, the word “bee” would have two lines under it because the /ee/ is only one sound even though it has two letters. There are several ways to do this activity. You could have a set of cards - like the ones in the SMILE Kit. Put out the pictures and ask students to match the picture to the word. Or put out the words on cards and they match the written word to the picture. They also can match word-to-word and picture-to-picture. A matching game can also be introduced where you have a list of words on one side and pictures, not in the same order, on the other side and students have to draw a line from the word to the picture There is an example of this on pages 139 and 140 in the Teacher's Guide to My Words Workbook:Nouns the book with the boat on the cover. Also in that book, there are other formats on pages 132 and 133. also on pages 143 to 145 and 156 where you circle the matching word. O pages146 to 155 you can print out the words and pictures so you have a lot of materials for matching. In your My Words Book you do have "dictionary" pages where, after the cross drill for each consonant phoneme, you have the picture with the word under it. This is done after students have gone through all 6 steps in learning the word.
14. How do you teach a more complex word such as “monkey” where there are two syllables and the pronunciations do not seem logical?
Much of the spelling of American English is not logical. That is why the use of cross drills is so helpful. Column one will always be the place where the initial pronunciation the student has learned is the reference. The other two columns will show alternate spellings for the same pronunciation. By the time students learn such a compound word they have enough experience to catch on to how the word is both spelled and pronounced. In the case of the second part of the word monkey, they have already learned the word “key” so the only tough part is going from a spelling of mon to a pronounciation of mung! The cross drill will be: (1) mu mu mo add the ng in column 1 change to n in next one or two columns (2) mung mun mon
15. What is the purpose of Module 3 (Verbs, Colors, Numbers, Plurals)?
Several students have been screened for Module 3- specifically the verbs and colors pre-screening. The students know all of the verbs and colors - How do we proceed with these students? Should they still receive the instruction for this portion of Module 3 or can we move on? If the students can read the word, recognize the color and match the color and write the word they can move on. A lot of students have been exposed to colors over the years and know their colors to look at and can pick out the color when they hear the word but may not necessarily be able to match the color to the word so be sure they really can do that. Also, they need to be able to write the color name. In SMILE always move on when the student knows something otherwise the work can get tedious and there is always so much else to learn. Regarding verbs, I have found, through lots of experience again, students may understand the command for common movements such as stand up, hop, jump, etc. Where they may have trouble is the comprehension piece where we ask them, “Can a ______ ________?” So it may be worthwhile reviewing that to see if they have the conceptual understanding of say, “Can a cat fly?” “Can a dog sing?” Same with numbers. Also be sure in Module 3 that they spend some time with regular plurals. There are some fun matching games in the Teacher’s Module for Language Module 3.
16. Why SMILE Plus?
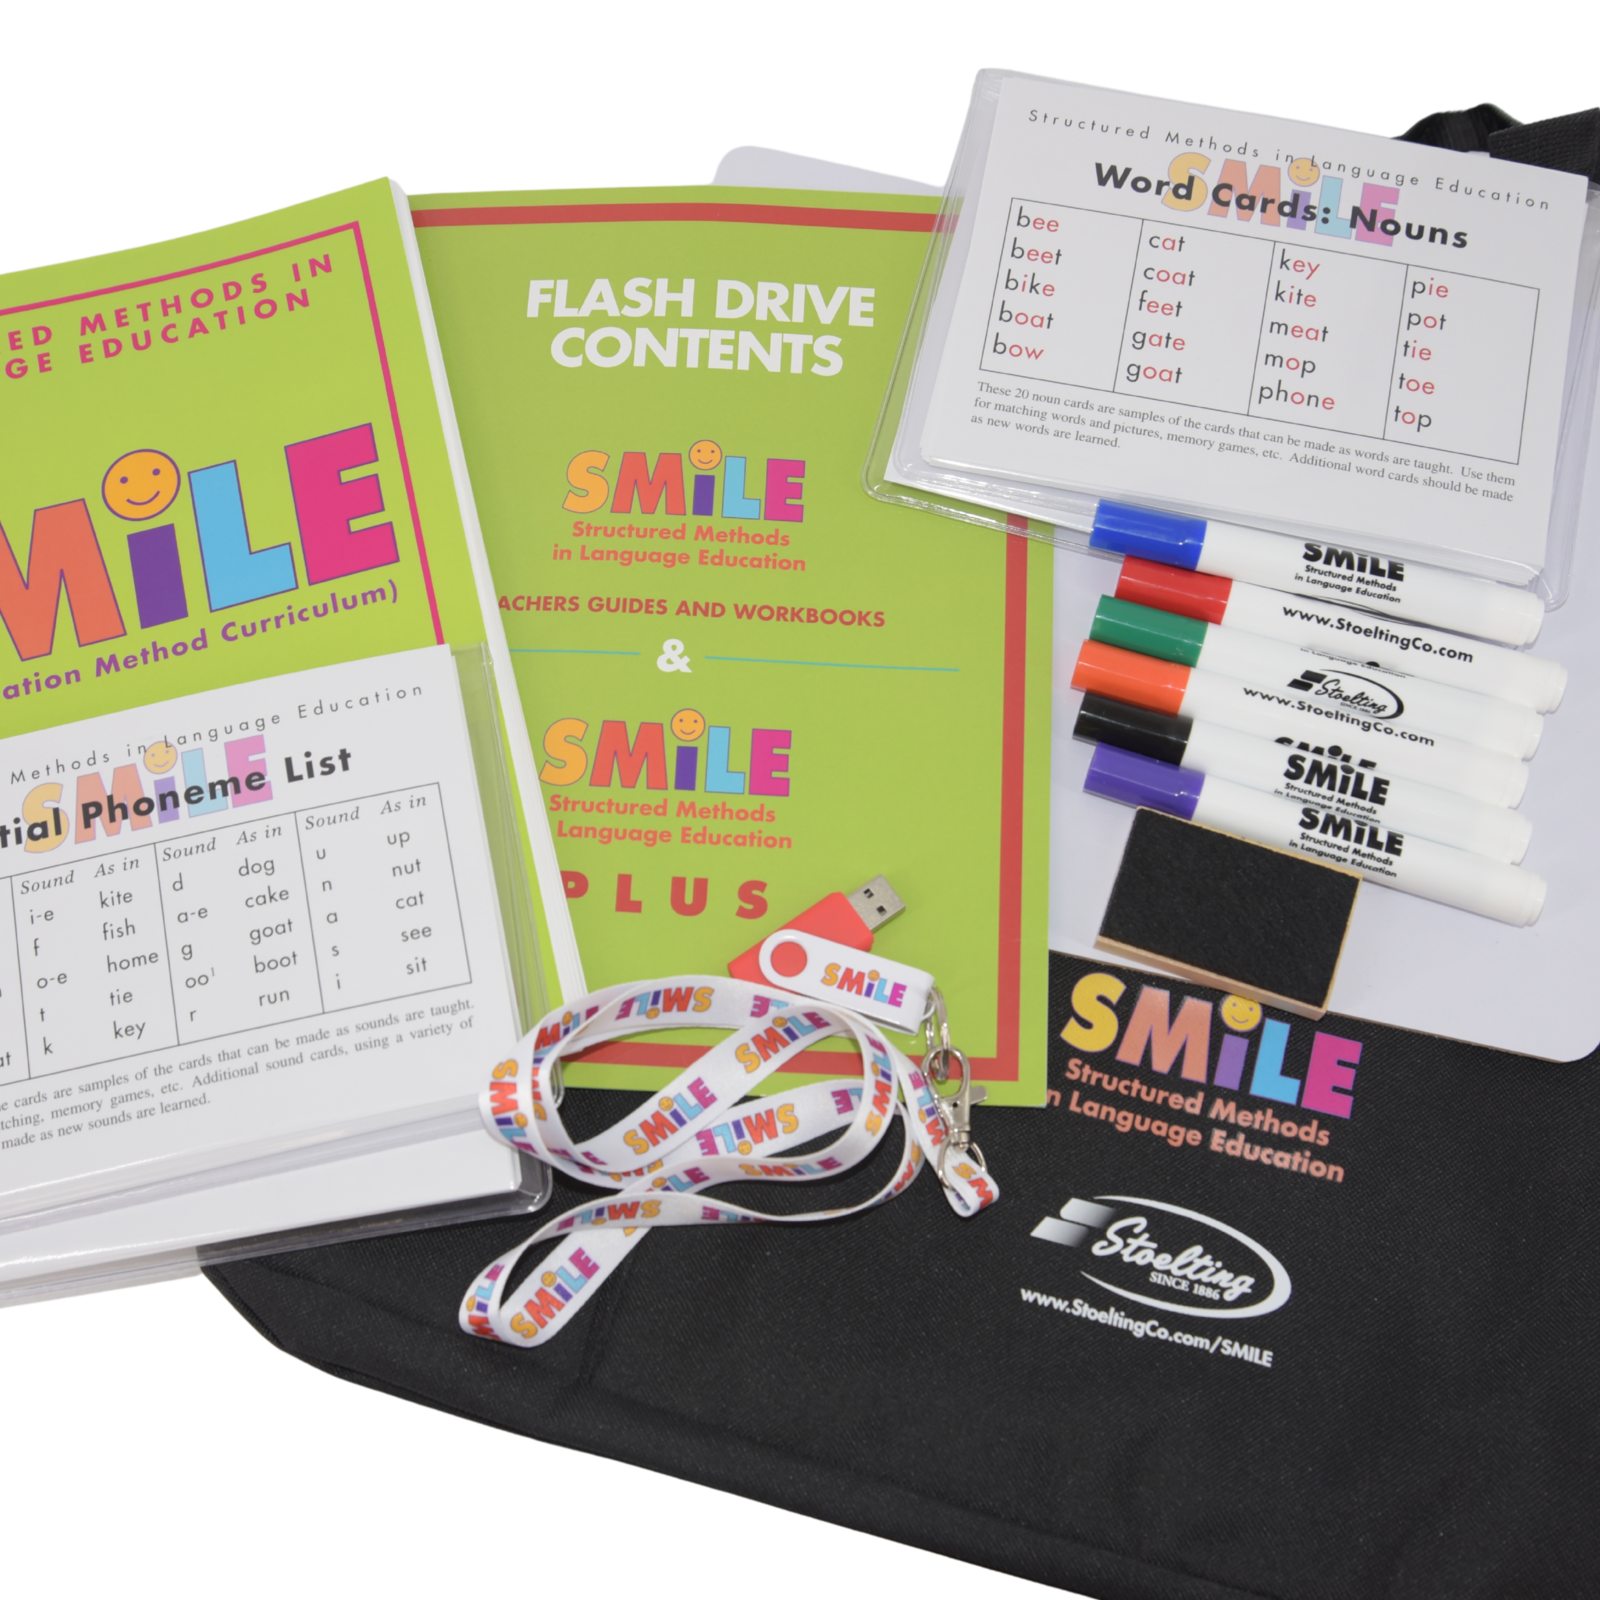
After the initial SMILE Kit was published and many workshops were presented and trainers had the opportunity to visit and observe teachers and see what their reactions were, and their perceived needs, we realized that some supplementary materials would be very helpful. Among these were a need for screening/assessment tools related to the content, Sample books to be sure teachers were making the books correctly, student readers to supplement the sample materials in the existing books and Teacher Guides, reminder sheets to help keep things in order, etc. Also, materials with advanced vocabulary (My Book of Tools) and books with ideas for making materials (Auditory and Visual Discrimination Activities).
17. Do you have a suggestion for a boy with a dual diagnosis of ASD and Down syndrome, who has particular difficulty with vowels?
The pre-screen test showed that he attempted to imitate or successfully imitated five of the vowels (one no-attempt). He did great with learning the 6 six steps for /p/, but as soon as I introduced the first vowel /o/ there was a dramatic change in his performance and interest. He made some initial attempts to say ‘o’ and ‘ee’ (the latter seemed easier), but then put his head down as soon as he was asked to repeat the sound during tracing or copying. With overall behavior, he does tend to avoid anything challenging. I use Sponge Bob pictures on letter cards to motivate him. This helped tremendously for /p/ - he seems to love saying this sound – but has not worked for subsequent sounds. The SMILE Method has worked particularly well with students who have Down syndrome. However, there is the occasional student who has a general behavior pattern that makes any teaching difficult. What I would suggest is temporarily stop requiring him to say, trace or copy the sounds and concentrate on all of the auditory and visual discrimination activities. You could also use the provided basal readers in CD 2 and read the pages with each sound to him so he becomes familiar with looking at the sounds as you say them. You should make him point as you say the sound. If nothing else this will help his receptive speech. With the pressure off maybe you can gradually work on production of any consonant or vowel sound that he had success with or attempted initially. If the sessions become more like play, with a variety of activities with the sounds, he may come around. A caution, have a lot of activities and only do each game once. - Make little discs from bottle caps. Start with several with /p/ /ee/ and /o/ and shake them in a can and let him close his eyes and pick one. If he does not say it you say it. - Then make little cards that he can hold and give you the one you ask for. - Make a Bingo game with just 3 or four sounds and he has to cover the sound you say. - Put letters out on post-its and he has to find the one you say and paste it to a white board - Have the letters on a white board and he has to erase the one you say. Sorting games - - Use magnetic tiles or velcro and have him put the one you say under a bigger letter. - Use the activities in the back of the Teacher's Guide to Language Module 1 from your SMILE Kit or the activities in CD 3 from SMILE Plus. Once things become fun chances of progress will increase.